Building API Documentation with Docusaurus

Introduction
Technical documentation is more than just a README - it’s a product in itself. For APIs, a clear and interactive documentation experience can make or break adoption.
In my previous article, I walked through setting up Docusaurus with Tailwind CSS and shadcn/ui components. In this post, we’ll take the next step: turning Docusaurus into a full-fledged API documentation platform powered by an OpenAPI specification.
Why use OpenAPI with Docusaurus?
The OpenAPI Specification has become the industry standard for describing REST APIs. Instead of manually writing documentation, you define your API in a structured YAML or JSON file.
By integrating OpenAPI into Docusaurus, you get:
- Single source of truth → Docs generated directly from your API spec.
- Interactive explorers → Try out endpoints from the documentation.
- Consistency → Updates to the OpenAPI file automatically reflect in your docs.
Preparing an OpenAPI File
Let’s create a simple OpenAPI 3.0 file that describes an endpoint for a user list. Later, we’ll reference this file inside our Docusaurus project.
openapi: 3.0.3
info:
  title: Example API
  version: 1.0.0
paths:
  /users:
    get:
      summary: Get all users
      responses:
        '200':
          description: A list of users
          content:
            application/json:
              schema:
                $ref: "#/components/schemas/UserList"
components:
  schemas:
    User:
      type: object
      properties:
        id:
          type: string
          description: Unique user `id`
          readOnly: true
        username:
          type: string
          description: "[URI](https://en.wikipedia.org/wiki/Uniform_Resource_Identifier)
            compliant username in ASCII format. Allowed characters are lower case (a-z),
            upper case (A-Z), digits (0-9), hyphens (-), dots (.) and underscore (_).
            The username must be unique regardless of upper and lower case."
          maxLength: 60
        firstname:
          type: string
          description: First name of the user
          maxLength: 100
        lastname:
          type: string
          description: Last name of the user
          maxLength: 100
        email:
          type: string
          format: email
          description: Email address of the user
        emailVerified:
          type: boolean
          description: Flag to check if the user has verified his email address
          default: false
        createdAt:
          type: string
          format: date-time
          readOnly: true
          description: UTC timestamp the user was created - [ISO
            8601](http://xml2rfc.ietf.org/public/rfc/html/rfc3339.html#anchor14)
        updatedAt:
          type: string
          format: date-time
          readOnly: true
          description: UTC timestamp the user record was updated the last time - [ISO
            8601](http://xml2rfc.ietf.org/public/rfc/html/rfc3339.html#anchor14)
      example:
        id: 100001
        username: jd
        firstname: John
        lastname: Doe
        email: john.doe@mail.com
        emailVerified: true
        createdAt: 2025-07-09T17:14:53+00:00
        updatedAt: 2025-07-10T11:25:40+00:00
    UserList:
      type: object
      properties:
        totalItems:
          type: integer
          readOnly: true
        users:
          type: array
          items:
            $ref: "#/components/schemas/User"
          readOnly: true
Integrating OpenAPI into Docusaurus
Step 1: Install a Plugin
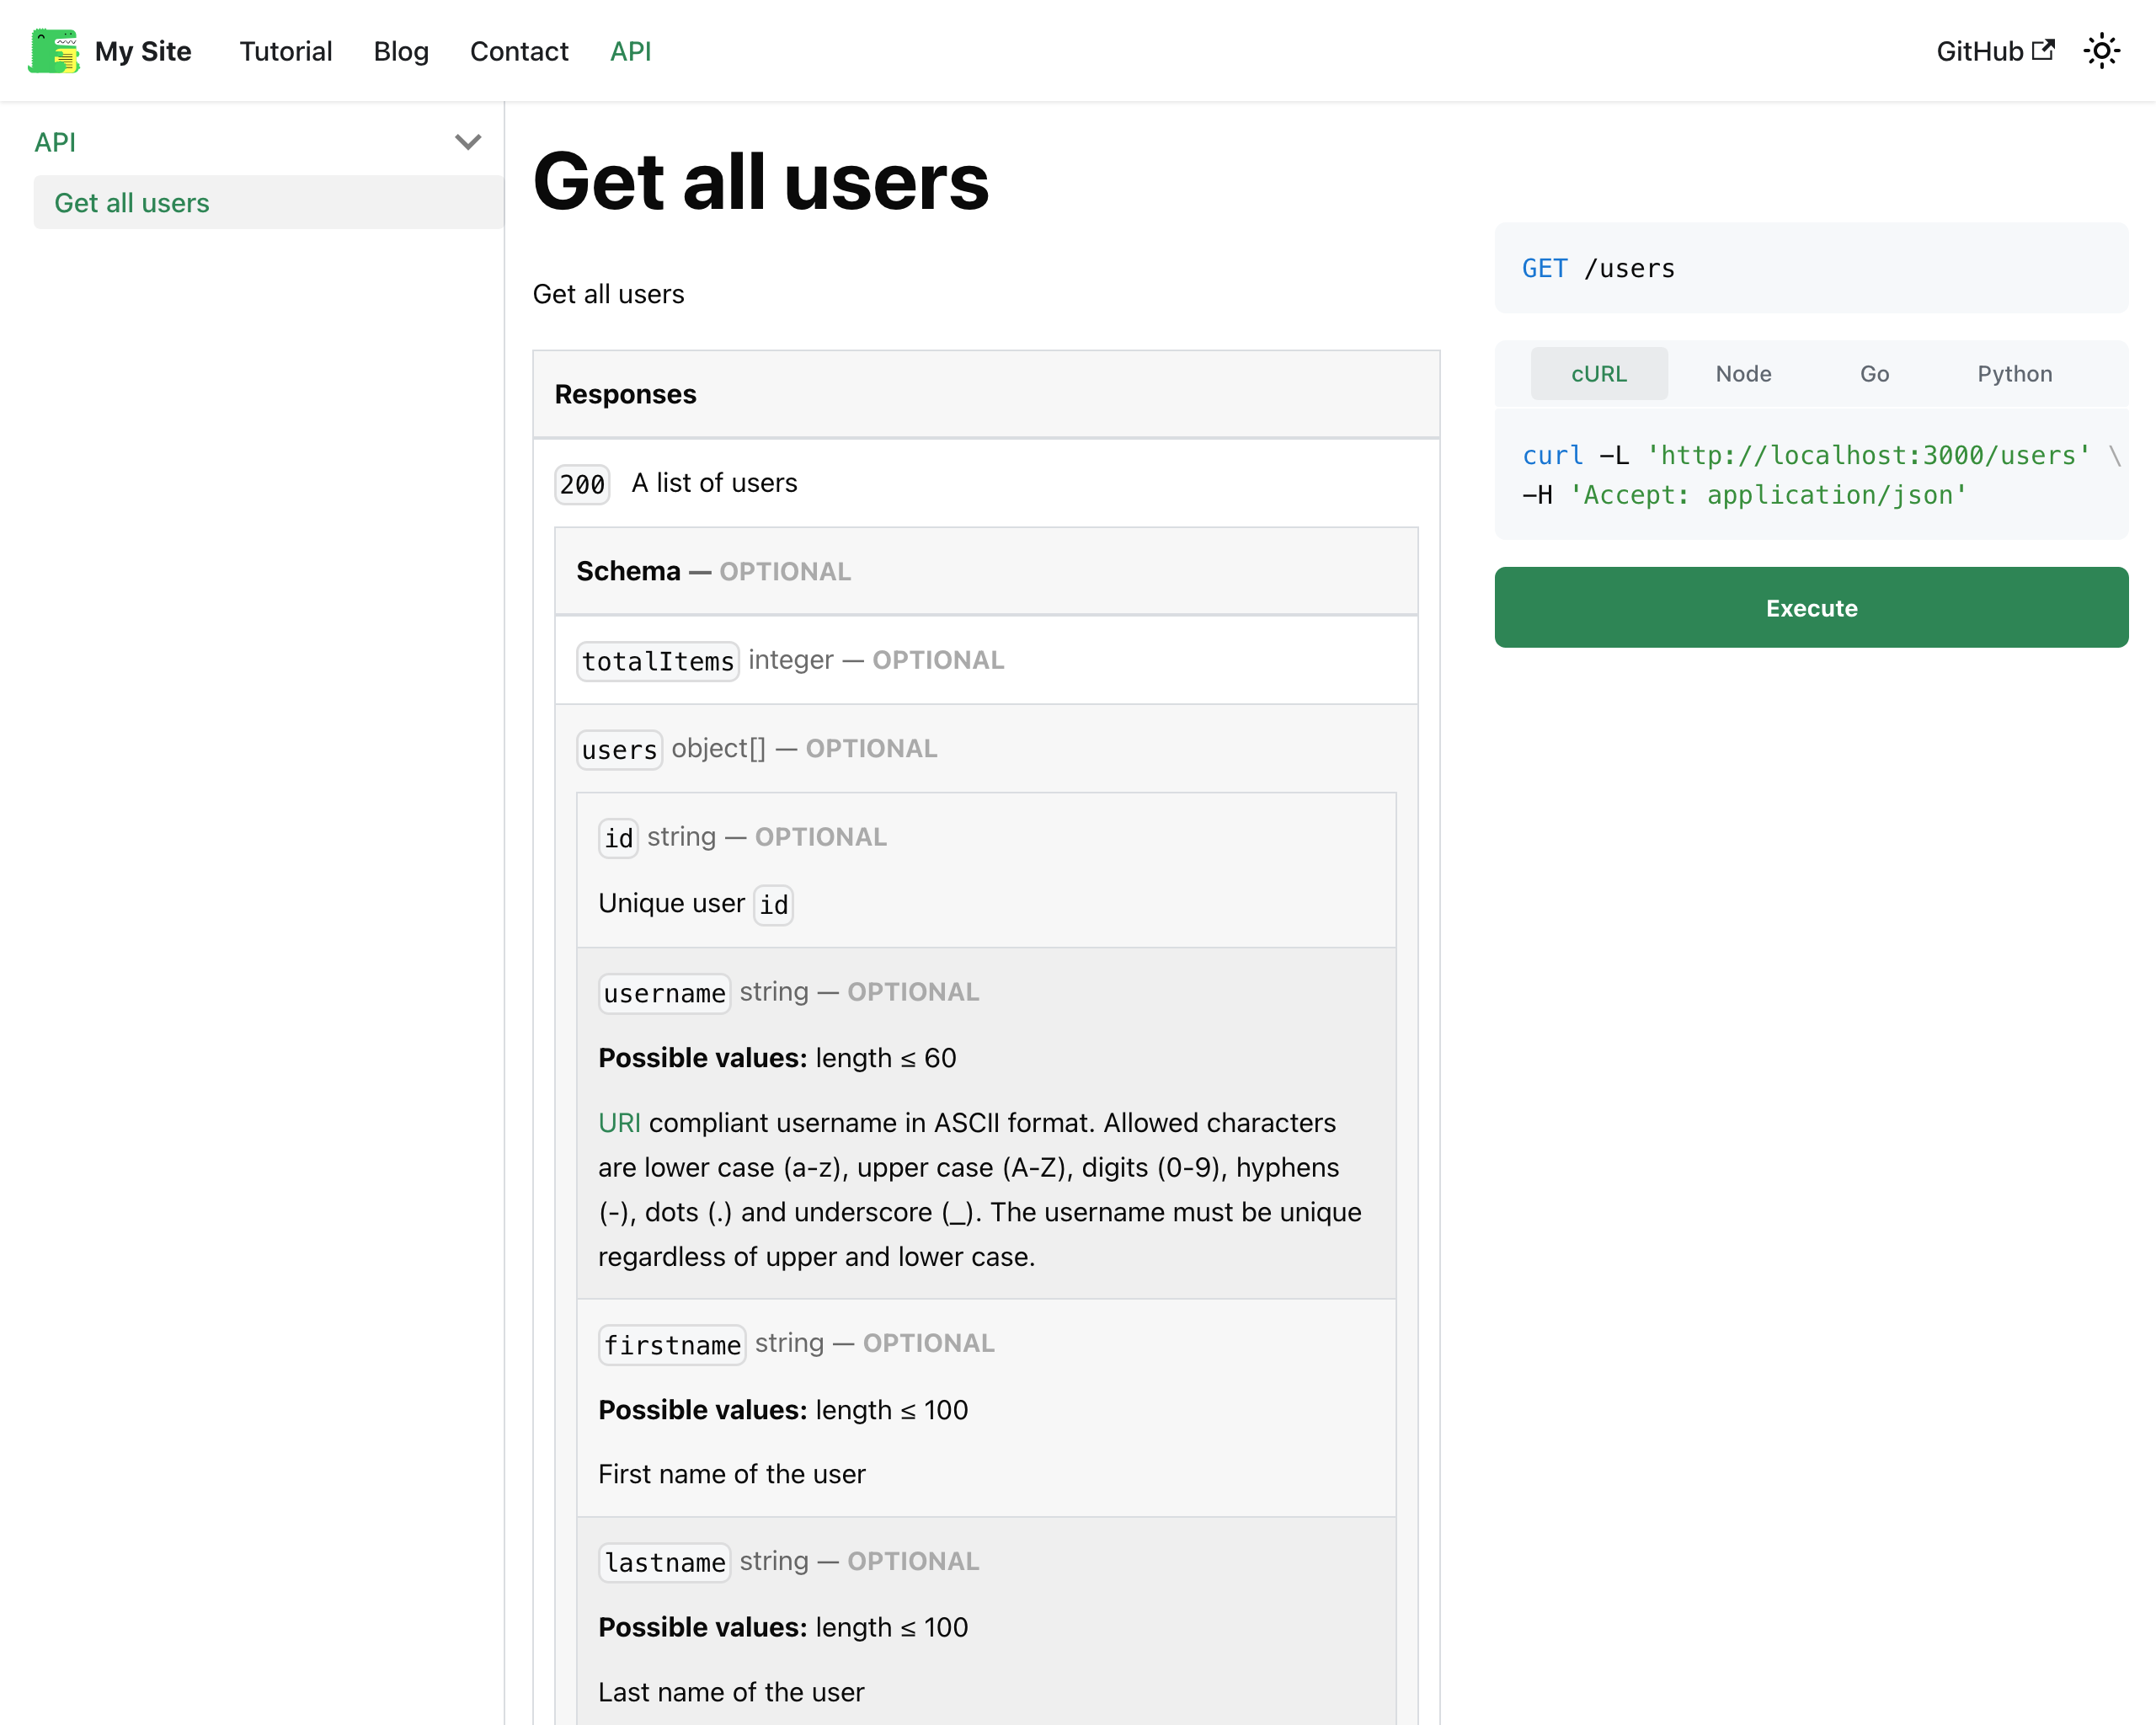
One of the most popular approaches is using the Docusaurus plugin docusaurus-plugin-openapi-docs. This plugin automatically generates API reference docs from OpenAPI files. Let's install it:
npm install docusaurus-plugin-openapi-docs url
This plugin still requires React 18.0.0, so we first need to downgrade our Docusaurus installation if you followed the previous tutorial:
npm install react@18.0.0 react-dom@18.0.0
There is an open pull-request on GitHub: https://github.com/cloud-annotations/docusaurus-openapi/pull/298
Step 2: Configure in docusaurus.config.js
Add the preset and point it to your OpenAPI file:
import type * as Preset from 'docusaurus-preset-openapi';

const config: Config = {
  presets: [
    [
      "docusaurus-preset-openapi",
      {
        api: {
          path: "openapi.yaml",
          routeBasePath: "/api",
        },
      } satisfies Preset.Options,
    ],
  ],
}
This will generate docs from openapi.yaml and place them under /api.
For easier navigation, let’s also add a navbar item to access the API docs.
export default {
  themeConfig:
  ({
    navbar: {
      items: [
        {
          to: '/api',
          label: 'API',
          position: 'left'
        },
        ...
      ],
    },
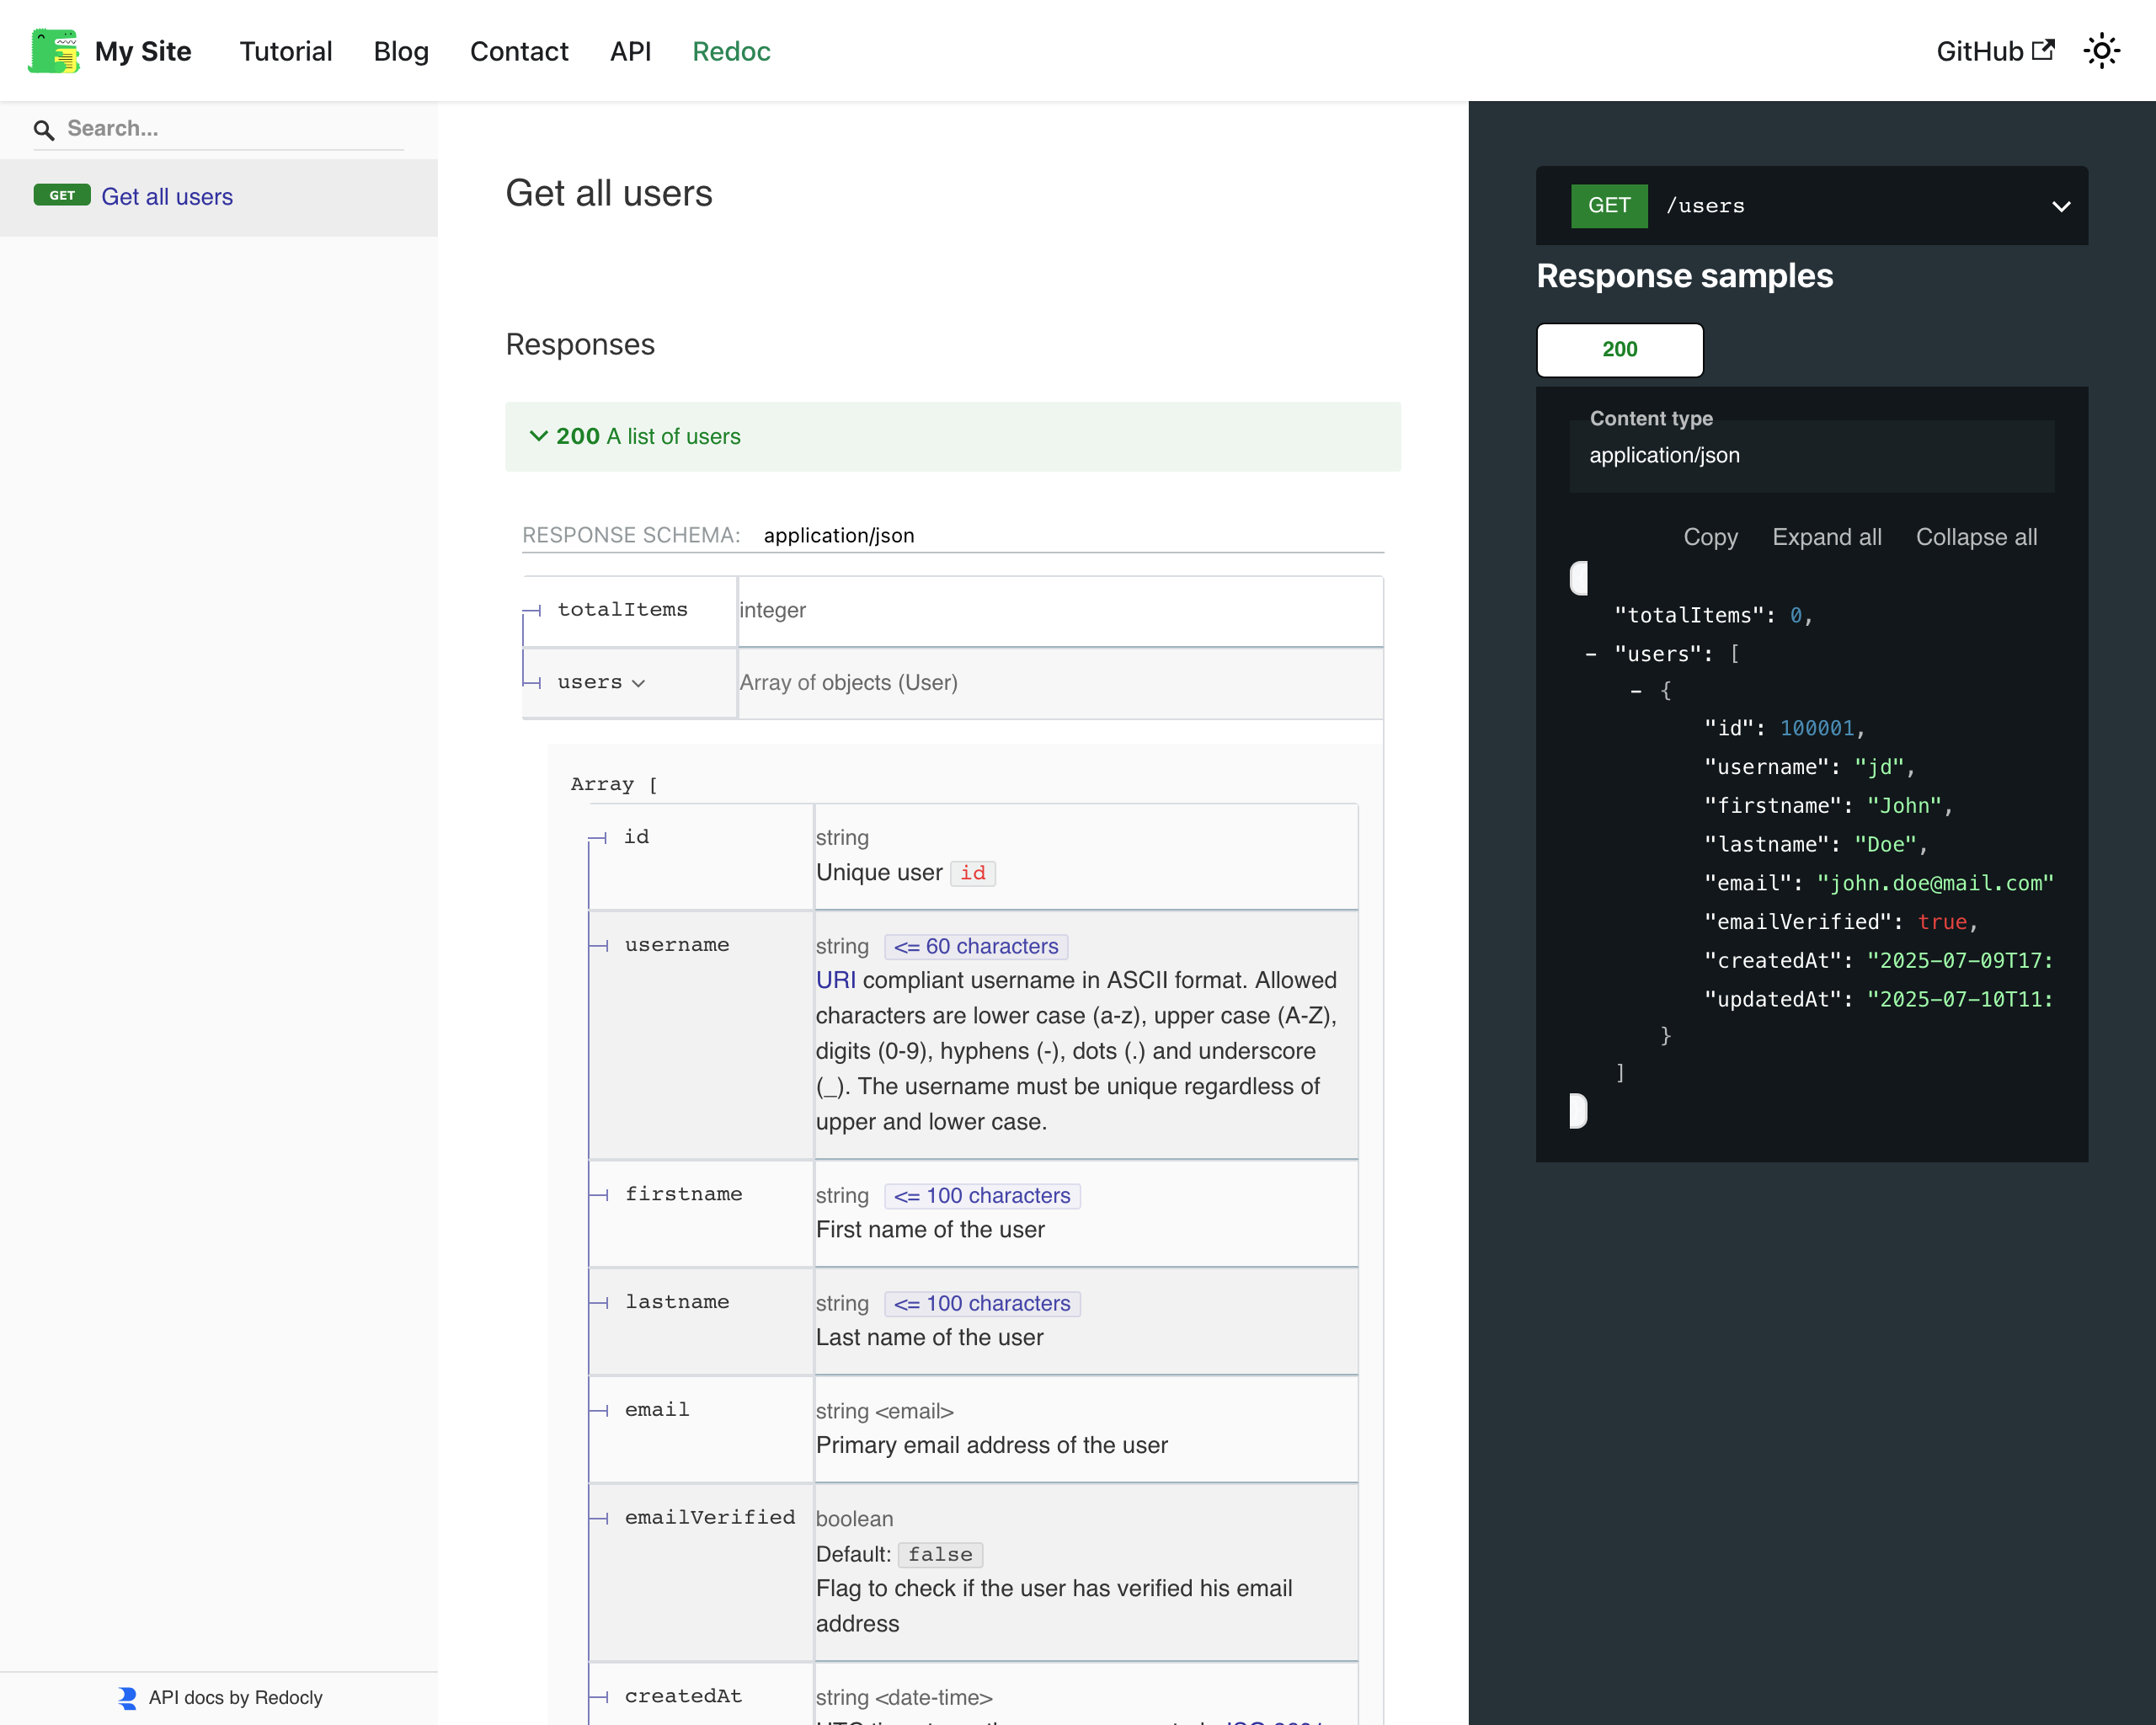
There is also an alternative plugin called redocusaurus available, which uses Redoc to render the OpenAPI spec.
Customizing the API Docs
Because we’re using the Tailwind + shadcn/ui setup from the previous article, the generated docs can inherit the design system.
We can further enhance the API docs by:
- Grouping endpoints by tag → for better navigation.
- Adding Markdown pages alongside auto-generated docs for tutorials, guides, or conceptual overviews.
- Styling components with Tailwind utilities for a consistent look and feel.
Adding an Interactive API Explorer
If you want developers to try out endpoints directly from the documentation, you can integrate Swagger UI or Redoc.
For example, embedding Redoc:
npm install redoc
Then create a React component:
import React from 'react';
import { RedocStandalone } from 'redoc';

export default function RedocApi() {
  return (
    <RedocStandalone
      specUrl="/openapi.yaml"
      options={{ scrollYOffset: 60 }}
    />
  );
}
Now you can include <RedocApi /> in a Docusaurus page:
import React from 'react'
import Layout from '@theme/Layout'
import RedocApi from '@/components/RedocApi'

export default function Redoc() {
    return (
        <Layout title="Redoc" description="Redoc page">
            <RedocApi/>
        </Layout>
    )
}
Add a navbar item to access the Redoc page:
export default {
  themeConfig:
  ({
    navbar: {
      items: [
        {
          to: '/redoc',
          label: 'Redoc',
          position: 'left'
        },
        ...
      ],
    },
Putting It All Together
At this point, your Docusaurus site provides:
- A developer portal with guides and conceptual docs.
- Auto-generated API docs synced with your OpenAPI spec.
- An interactive explorer for testing endpoints.
This setup turns Docusaurus into a true API documentation platform, with customization power that few dedicated tools offer.
Conclusion
By combining Docusaurus with OpenAPI, you can transform a static site into a robust developer hub. No more duplicated documentation, no more stale examples—just a single, maintainable source of truth.
If you’ve already followed the setup with Tailwind CSS and shadcn/ui, adding API docs is the logical next step. The result: a professional, modern, and developer-friendly documentation experience.